It has been a while since I posted about our garage conversion, but hopefully you will see it is because there has been much progress rather than me being too lazy. Quite the opposite in fact - this phase has been one of the most demanding to date - bricklaying.
Most well-informed people will suggest that if you have never laid bricks before (I haven't) then you should first go on a course and then begin by building a trial wall before tackling the real thing. Bricklaying is quite rightly considered an art, taking years of practice to become skilled. I don't have years, so I employed sheer stupid determination, of which I have plenty.
Most well-informed people will suggest that if you have never laid bricks before (I haven't) then you should first go on a course and then begin by building a trial wall before tackling the real thing. Bricklaying is quite rightly considered an art, taking years of practice to become skilled. I don't have years, so I employed sheer stupid determination, of which I have plenty.
My bricklaying journey began on a sunny Saturday in early August, aided by the returning Marcel. We began by attempting to re-build the back wall which will eventually house the kitchenette.
At this stage, we had no idea what we were doing. We were just trying to get the mortar (the cement bit that sticks the bricks together) consistency correct and trying to place and level the bricks took an age (about 20 minutes per brick to start!). Without developed trowel skills, mortar was being applied by hand and moulded into place. All in all, a messy start, and we were happy to get the time per brick down to 5 minutes by the end of the day. We were pleased with Day 1 bricklaying progress - I'm not sure Marta was convinced. For reference, a typical bricklayer could lay 400 bricks a day, we laid about 16......After Day 2, I had laid an additional 20-odd:
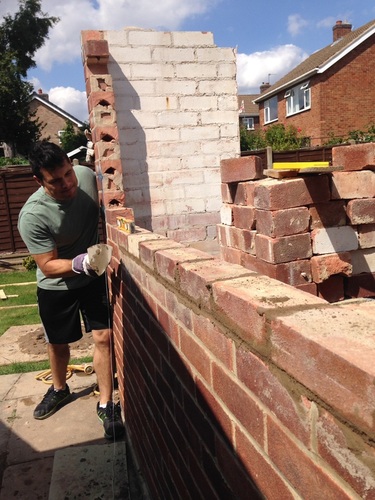
Marcel is a busy guy, so I was left to continue the journey over the next days and weeks on my own. This focused the mind, and I was soon using the trowel to greater effect and gradually getting faster. Laying 'basic' walls like the above is relatively straightforward. In order to make any progress, I quickly had to tackle building a pier - a double brick column used to attach fixings such as door frames - in our case, the bi-fold doors.
I made a humble start, but this was my second attempt - the first started a bit unevenly, so I decided to start again whilst it was still early. I was informed by my cousin who would fit the doors that the bi-folding doors had very little dimensional tolerance (10-15mm), so getting the pier up straight was crucial - particular time consuming considering I was still learning my trade. In the picture above you can also see the back wall I started on slowly rising. Below marks several after-work shifts later, and you can see the improvement in technique as the wall grows, with everything getting a bit neater:
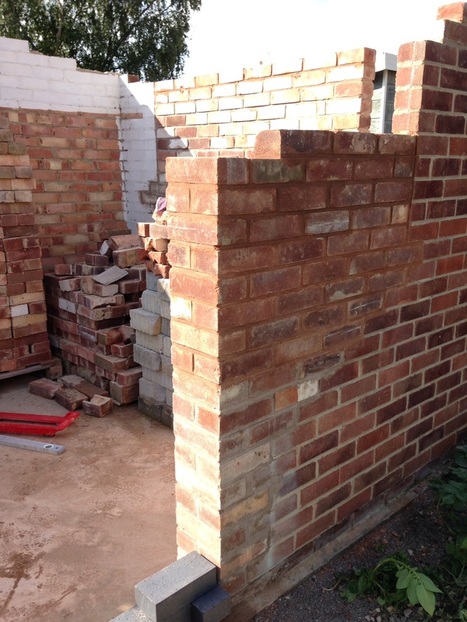
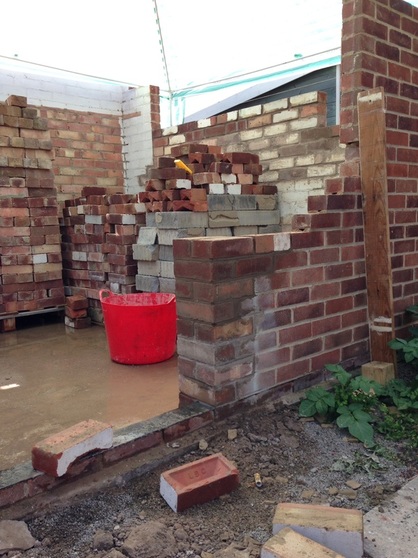
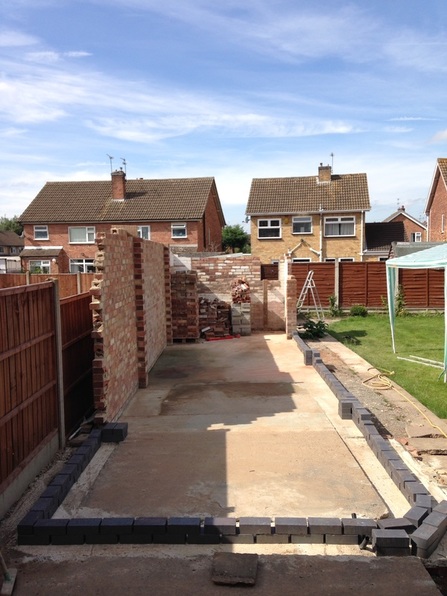
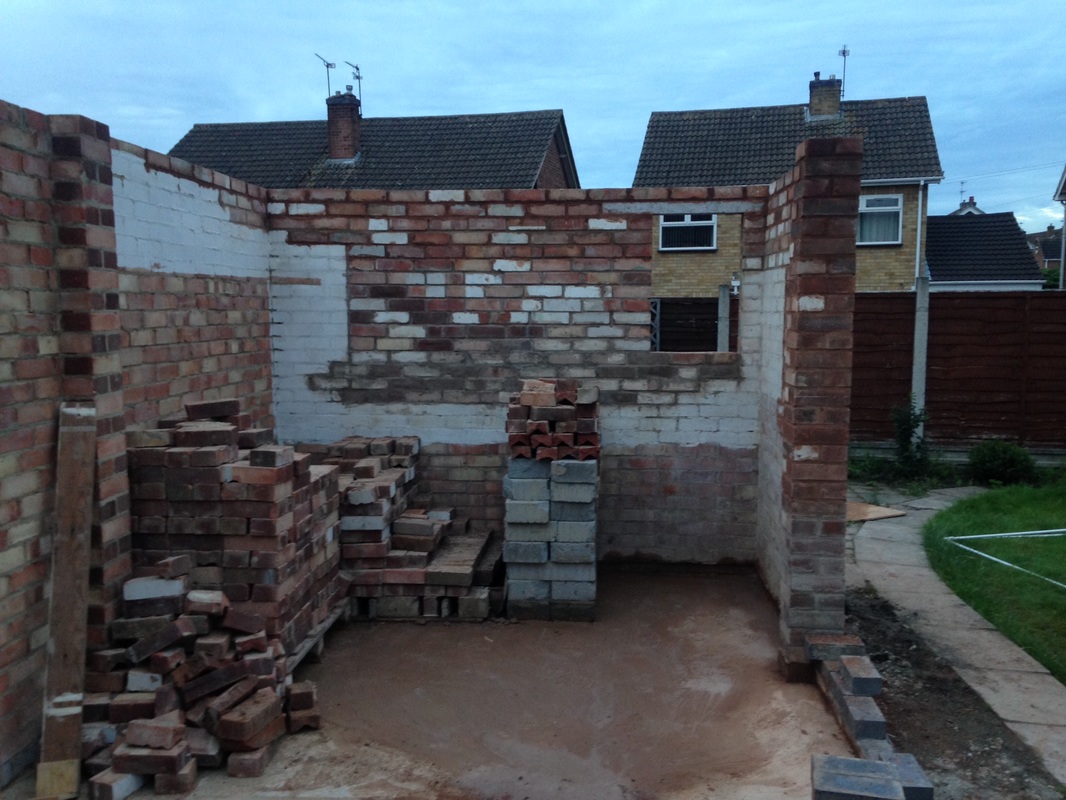
Just when I thought I was making some progress, I turned around and remembered that I still had over half the garage to start, let alone finish. Below you can see me just starting to plan out laying the base 'engineering' or 'blue' bricks for the rest of the structure. Blue bricks are used to prevent damp rising through the brickwork (they are water resistant). The rest of the structure that wasn't knocked down contains a damp proof membrane sheet one layer up to do the same job.
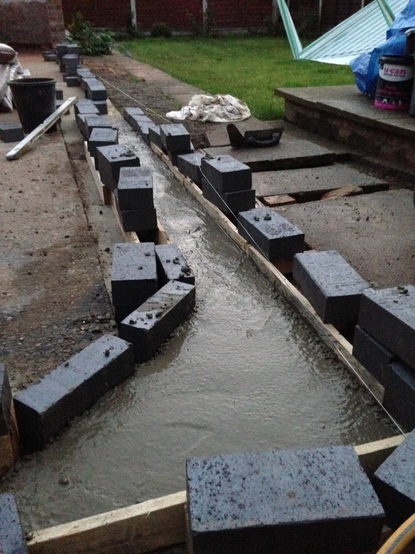
I spent a lot of time trying to ensure that everything was level from one end to the other. This was surprisingly challenging over the 10 metre length of the garage, especially without the right tools. Eventually, I invested in the cheapest tool option which was a laser level and discovered that I probably needed to raise the end nearest the house (closest to the camera in the above image) up about 5 cm. Now builders might suggest that 5 cm is neither here nor there, but I have and will continue to try to make things as precise as possible to avoid problems later on. It is probably this caution that means I take more time than necessary on parts of the build, but I'd rather err on the side of caution having no previous building experience. I raised the end up by manually mixing a small batch of foundation concrete and penning it in with some bits of pallet (weighted down by the blue bricks):
Once dry, it came up pretty well, and provided the base to lay the blue bricks. I also took some time to harvest some stubborn potatoes beside one wall - I think it is fair to say that this harvest will be it's last hurrah and they should be well an truly buried next year. They made a nice mash. Granddad will be proud.
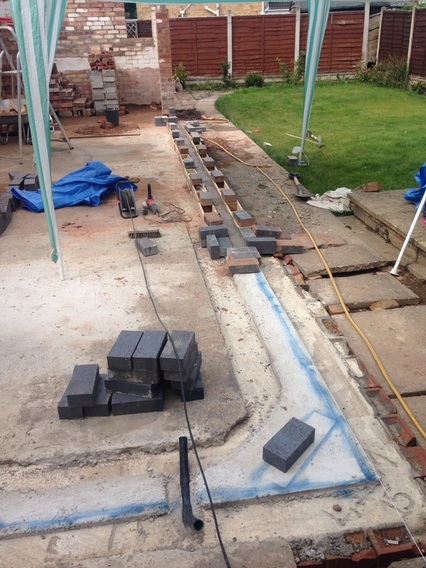

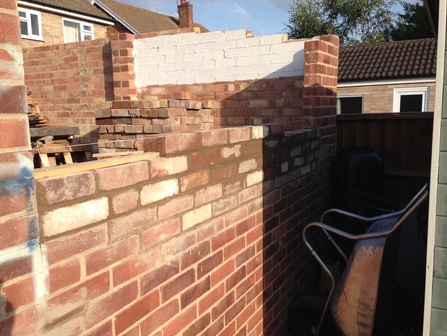
The final trick in this blog instalment was to place the first lintel. Lintels are beams that stretch across the top of windows and doors to support bricks on top. The first one installed defined the opening for the kitchen window at the back of the garage - the wall at which the bricklaying started. You can also see that the pier for the bi-fold door has grown to the required height for itself to have a lintel placed on top - the only problem here was that the pier on the other side of the bi-fold was not yet in place. Also note that the pier in the photo below looks rather bent outwards - I can assure you this was a trick of the camera!
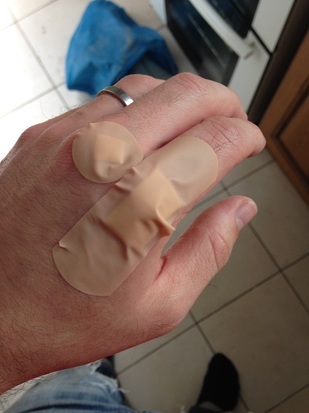
So, that is part one of my bricklaying adventure. I hope to post again tomorrow with it's continuation. I leave you with a final image illustrating the perils of manual labour. Awww.