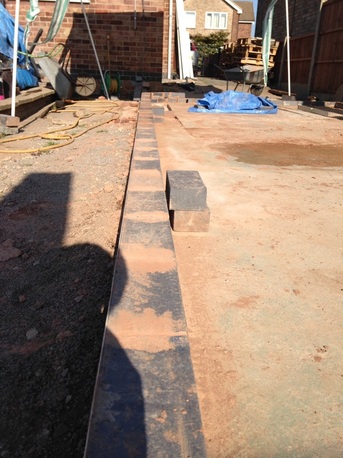
I left yesterday's post as I was about to embark on laying the engineering bricks around the remaining perimeter of the building. By this point, I was starting to get a bit quicker at bricklaying and the engineering, or blue, bricks are nicely flat and smooth, which made things a bit easier compared to the reclaimed bricks I have used elsewhere. After a few more evening sessions, the building outline was beginning to emerge:
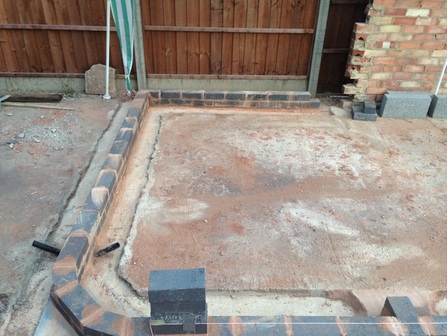
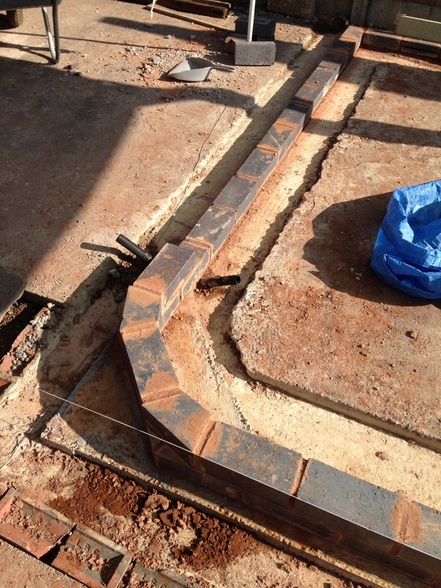
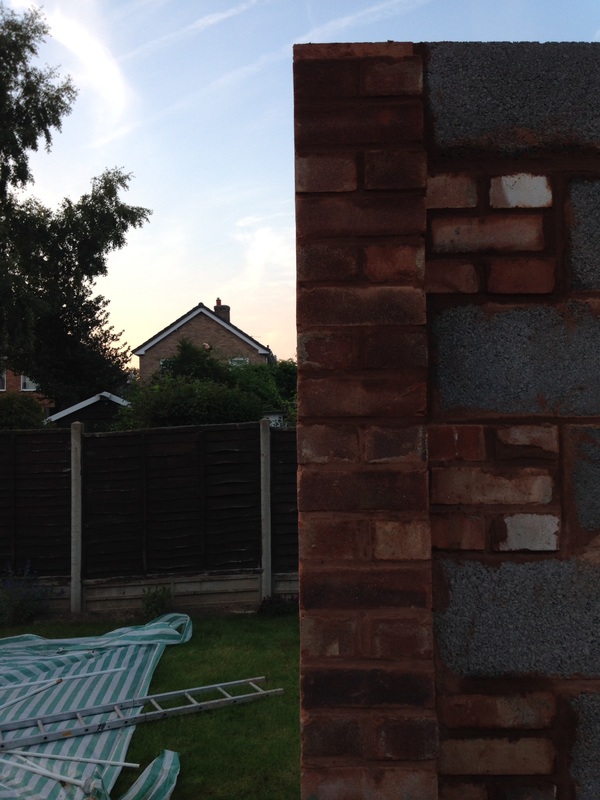
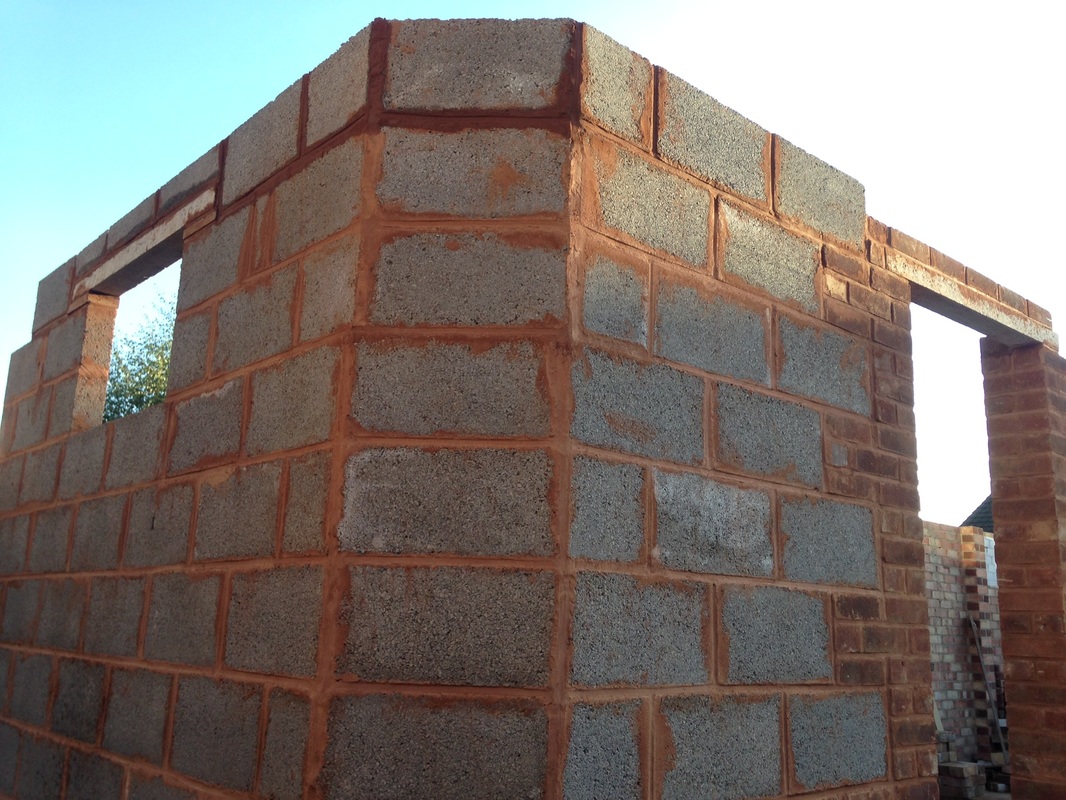
The second image is the end nearest the house and you can see I incorporated a bit of tubing that passes beneath the bricks. I'm not sure if this will be useful, but thought it might be good to run the electric cables through - you always have to be thinking a few steps ahead I have found. I also incorporated the diagonal corner that I have described before, which I feel will take the harshness off this entrance corner away and open the way to the garden a bit more. Cutting the bricks for this feature would end up adding a bit of time, but I feel it has been worth it:
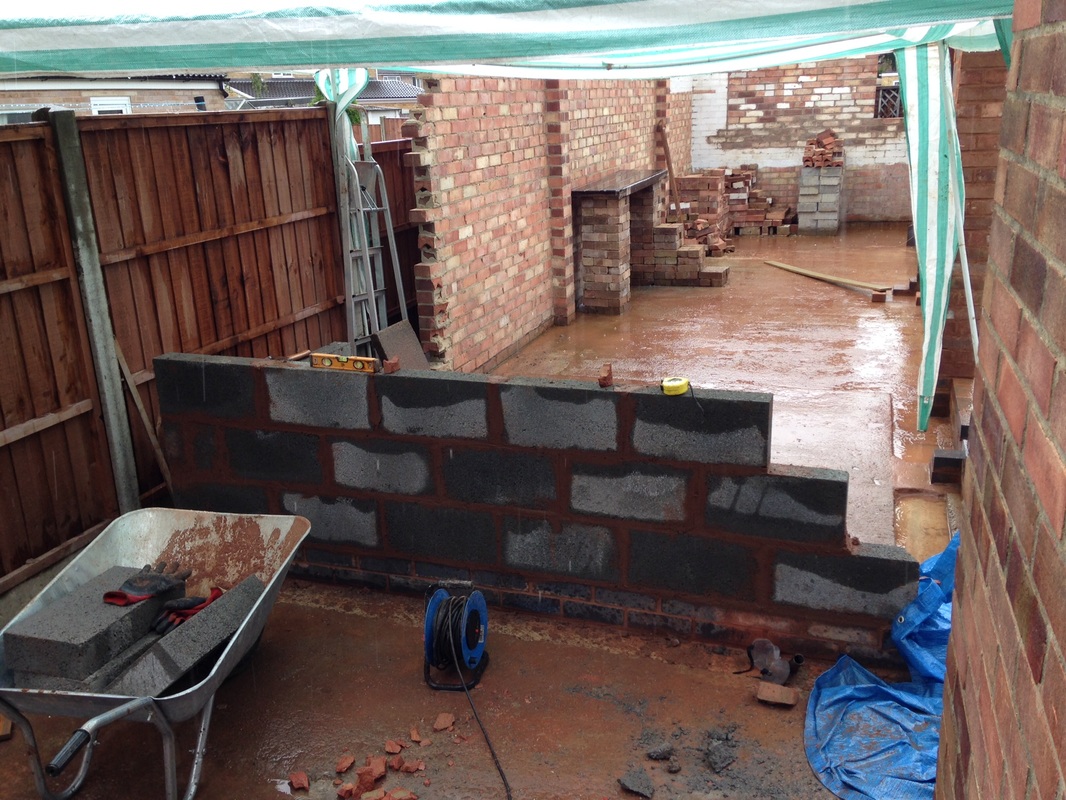
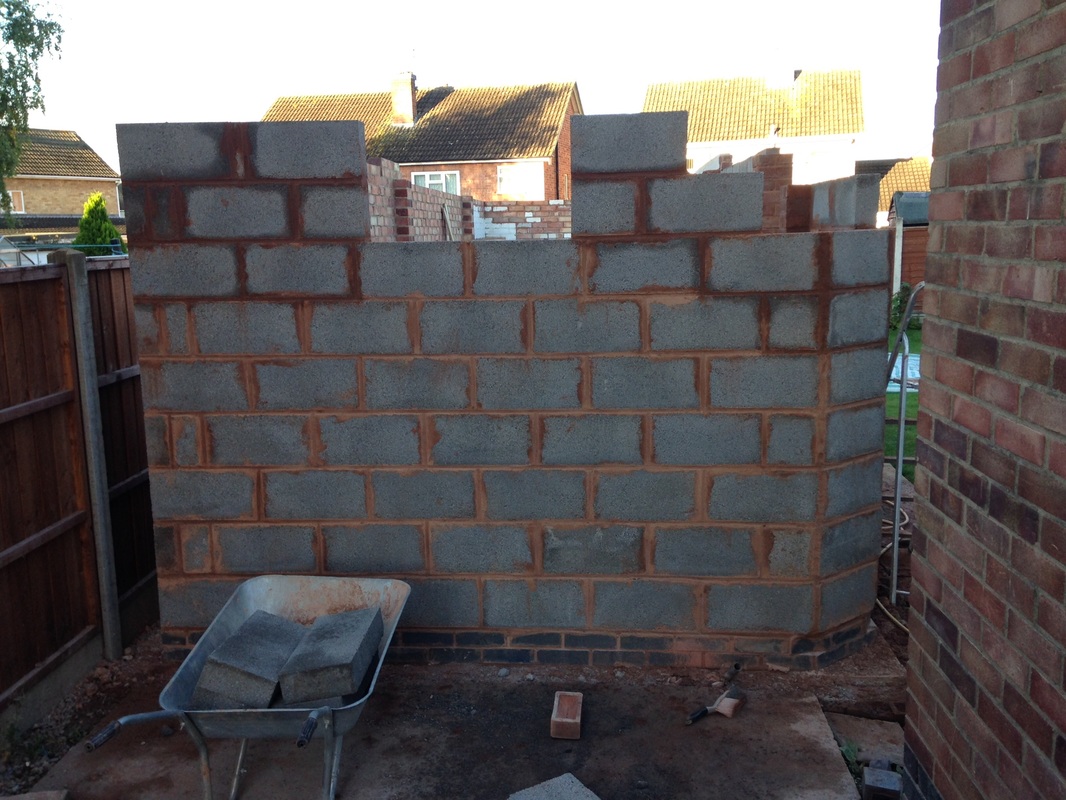
Once I had gone round with two 'courses' (bricky speak for layers - get me with the lingo) of blue brick, I was ready to graduate to block laying. I say graduate, but block laying is probably easier - certainly quicker - than laying bricks. Each block is the equivalent of six bricks, and so laying blocks marked the start of more noticeable progress. Below is the first fruits. Notice that I had to incorporate regular bricks to create additional piers. On the right of this section (hard to see in the photo below) to make the other side of the bi-fold door opening, and on the left to make one side of the single door opening that will lead into the bedroom:

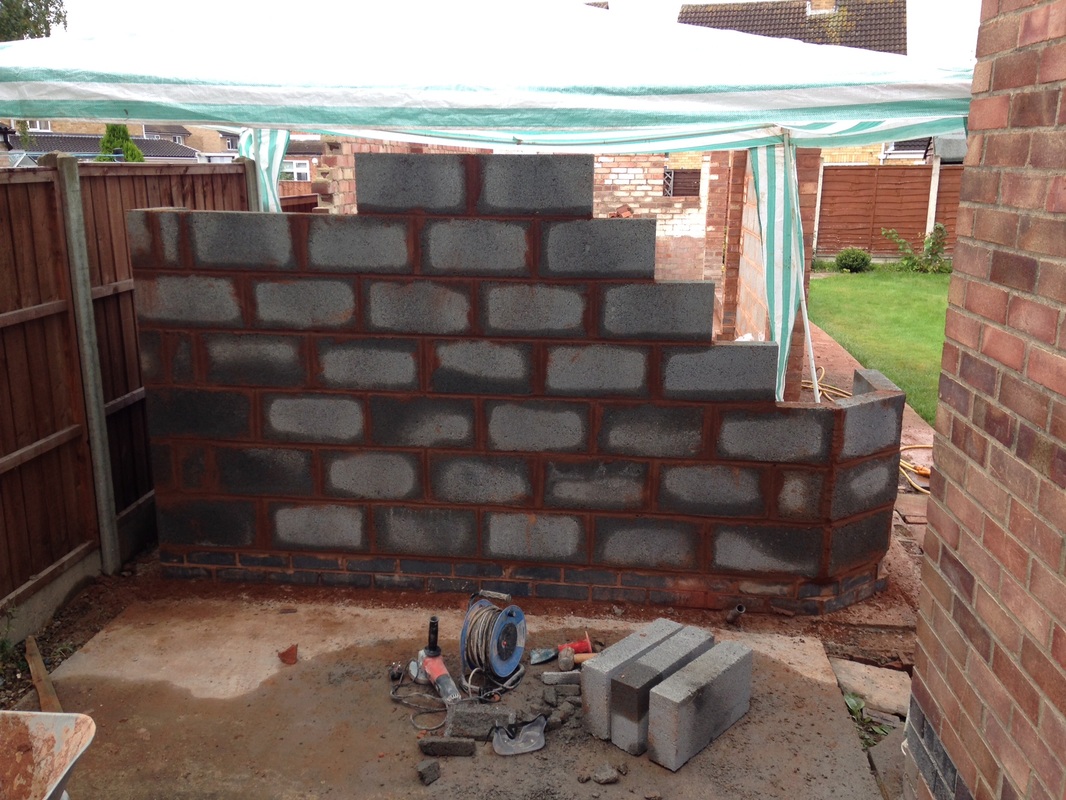
I concentrated on this section for a while to bring it up to near enough the right height for the bi-fold door:

I was starting to nail those straight edges:
 |  |
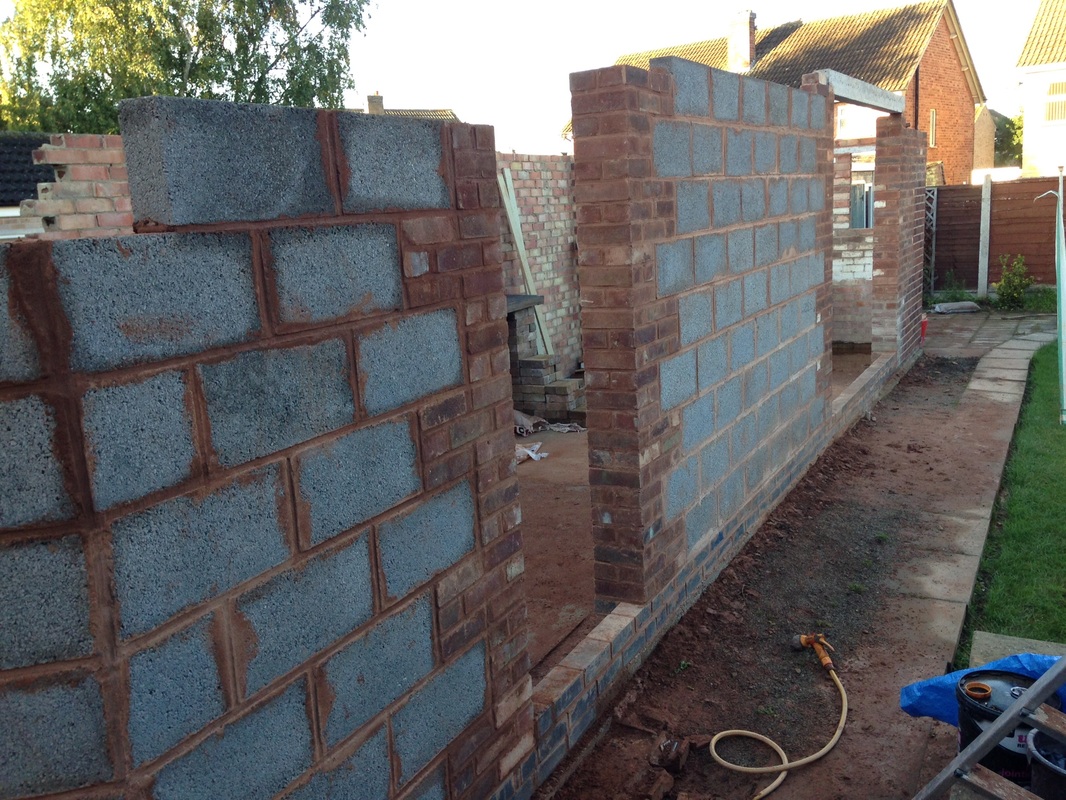
I turned my attention next to the bathroom end nearest the house. I took a week off work to progress things with Marta away in Brazil visiting family. Despite living in England for 30 years, I had the crazy idea that the English weather would be on my side. Of course, for the first three days at least, it rained constantly, and I had to put up a gazebo which didn't quite fit over the entire work area. It tested my patience it's fair to say. Anyway, the block work was starting to go up quickly, despite the rain:
My cousin Bradley was due to visit in a few days, so I worked to get all the apertures ready so he could fit all the doors and windows. In the images above I was working up to the height required for the high window in the bathroom. But elsewhere, I needed to think about placing the lintel for the large bi-fold door. The piers upon which the three metre steel reinforced concrete lintel would rest was ready, so I called on the guys to give me a several helping hands one evening. Of course we had to take a lintel selfie:

So a big thanks to (clockwise from the left) John, Lu, Jonathan and Marcel for their manpower and combined wisdom. Between us, we did it:
The remaining lintels would be small enough to place on my own, so I spent the rest of the week working hard to get the other door and window spaces ready.
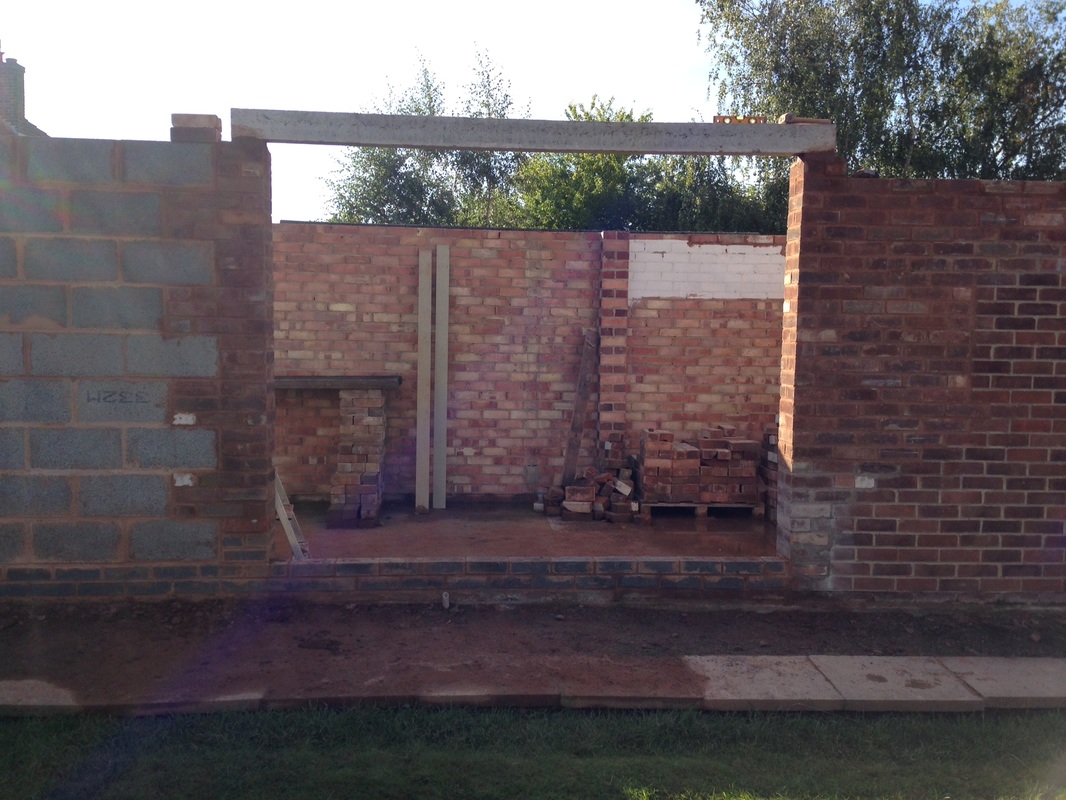
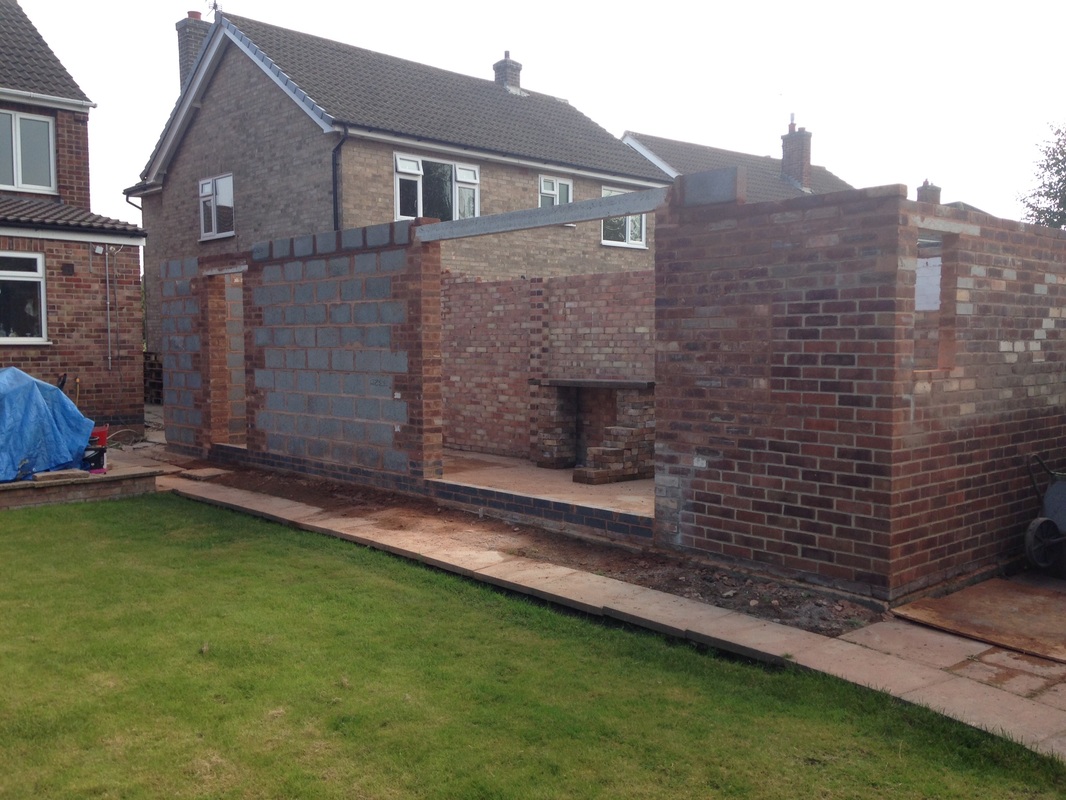
The lintels went in (see below - bathroom window on the left, single door to the bedroom on the right), and the diagonal corner was starting to look like a very good decision, despite the extra brick cutting required:
So that was the apertures for the doors and windows ready. Unfortunately, my cousin couldn't make it that weekend, but I'm glad I worked towards his arrival anyway - it certainly spurred me on. We re-arranged for him to come the next weekend and in the meantime I could work on completing more brickwork for Marta's return.
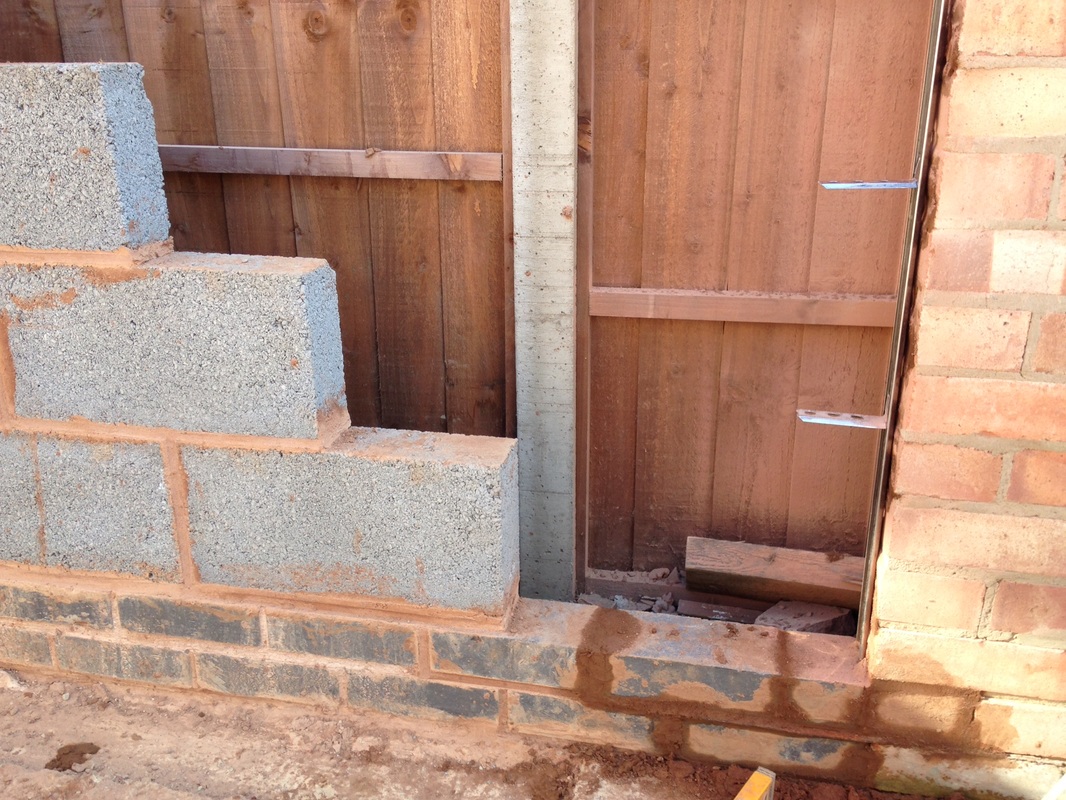
The next task was to join the blockwork wall back to the original brick wall on the back face of the garage next to the neighbour's boundary. The easiest way to do this is to use a wall starter. This is basically a metal fixing that is mortared into the joints and ensures there is a strong bond between the two brick types. You could build and achieve the same external appearance without it, but the long vertical join would be a bit of a weak point if any movement occured. The wall starter strengthens this joint.
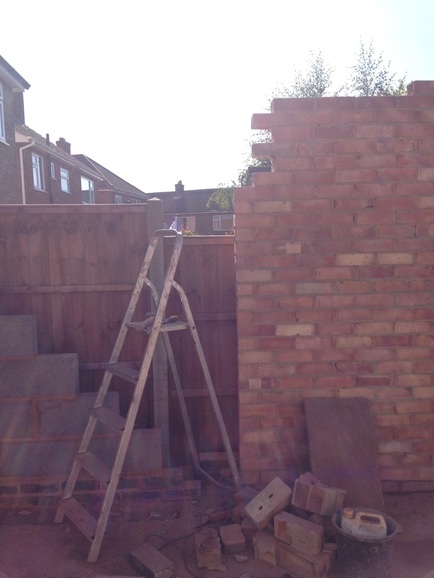
The first thing I had to do was to straighten up the original brick wall to be able to screw in the wall starter. I used an angle grinder to cut through the bricks:
The next task was to join the blockwork wall back to the original brick wall on the back face of the garage next to the neighbour's boundary. The easiest way to do this is to use a wall starter. This is basically a metal fixing that is mortared into the joints and ensures there is a strong bond between the two brick types. You could build and achieve the same external appearance without it, but the long vertical join would be a bit of a weak point if any movement occured. The wall starter strengthens this joint.
The first thing I had to do was to straighten up the original brick wall to be able to screw in the wall starter. I used an angle grinder to cut through the bricks:
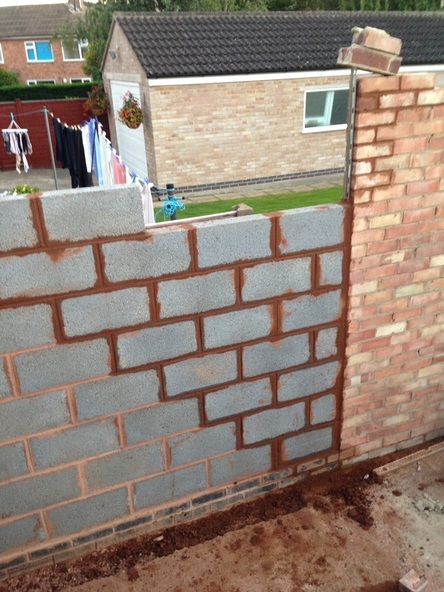
I then completed the vertical edge by adding more bricks into the gaps you can see towards the top in the image above. I built the blue brick around at the bottom to join the original wall, and had previously ensured that when I got to laying blocks that I had the right gap to come up flush against the original wall. Below you can see the wall starter installed and a space ready for a block. On top of each block you add a horizontal tie that slots in and joins the two walls:
And in a few hours you have something like this (excuse the neighbour's laundry):
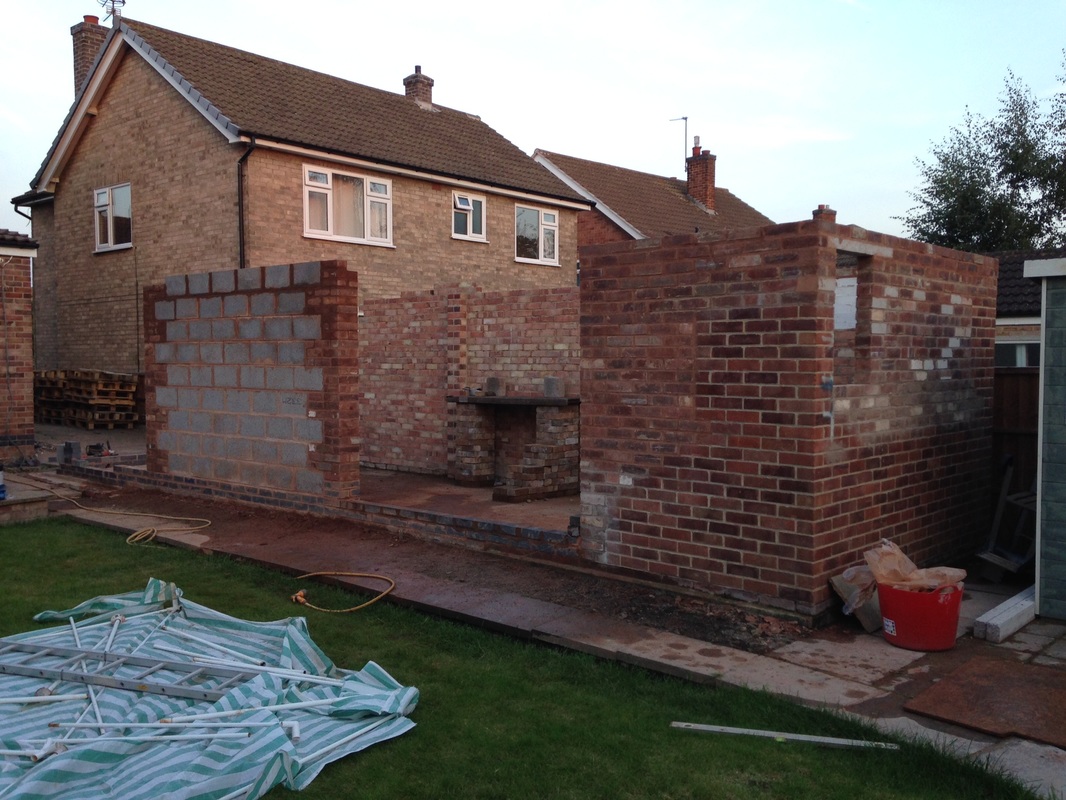
My next few sessions (now back to being after work once my 'holiday' had finished), were then focused on filling in the gaps and trying to get all the brickwork up to the same level. I was therefore beginning to lay bricks on top of the lintels. A final shot of the outside before my cousin's arrival the following weekend:
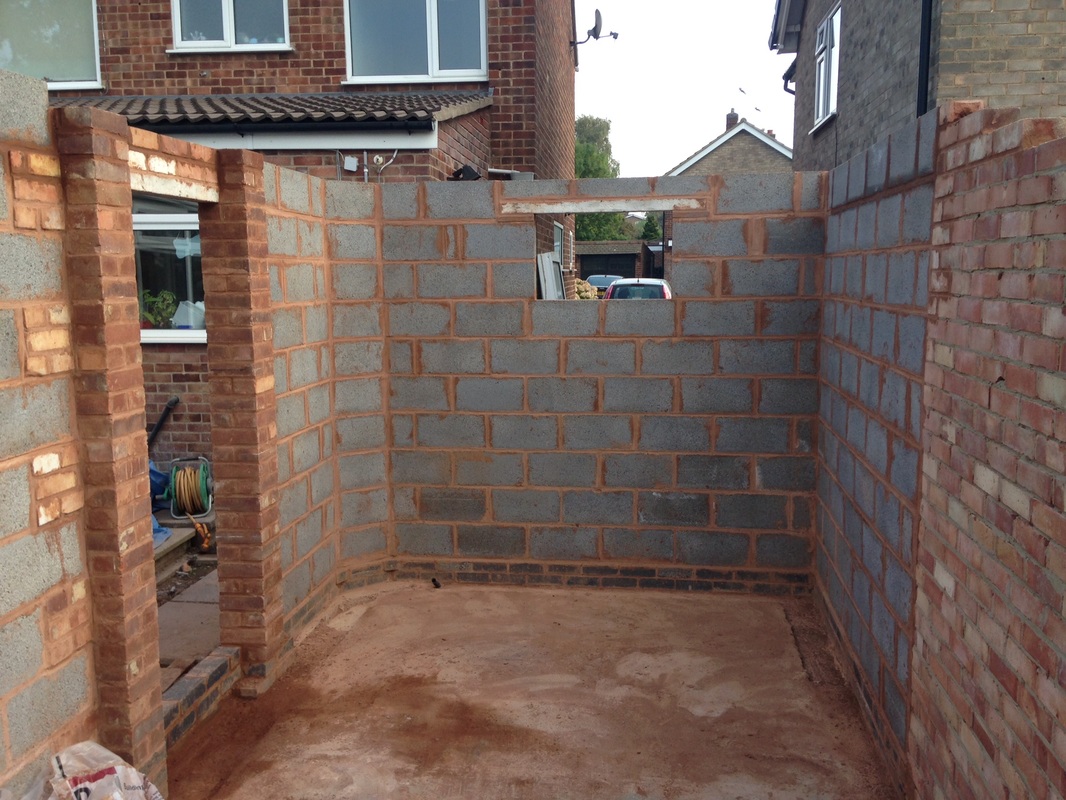
And from the inside below, the spaces are now becoming clearer. Beyond the door opening on the left will be the bathroom. Before it will be the bedroom.
So, all was ready then. Some brickwork was still required to bring it up to a level ready to put the roof on, but for now I was happy and took what I felt was a well earned rest. My cousin would arrive a few days after this on the Sunday to fit the doors and windows. More on that tomorrow!
Marta also returned from visiting her family and was (to my relief) very pleased with the progress. Whilst back in Brazil, she had been busy learning how to make cake toppers:
Marta also returned from visiting her family and was (to my relief) very pleased with the progress. Whilst back in Brazil, she had been busy learning how to make cake toppers:

It was good to have Marta back to rejoin the garage conversion journey!