The Bible readers amongst you might be familiar with the verse "Anyone who listens to my teaching and follows it is wise, like a person who builds a house on solid rock" (Matthew 7:24-27). It is this wisdom (well, the building on a solid rock bit) that accompanies the latest installment of our garage blog.
In the last post, I showed the building plans in more detail. From this plan, it should be clear that the proposed final layout does not look like the size of a normal garage. Well, that's because it isn't, as we are planning to extend the original garage length an extra couple of metres. For this, we were required by building control to lay foundations for this extension. These were required to be 45 cm wide and 60-70 cm deep all around. Interestingly, despite only being about 4-6 inches thick, no foundations were required for the rest of the floor as this had already had the single storey garage on it for decades and so was deemed to be suitable enough.
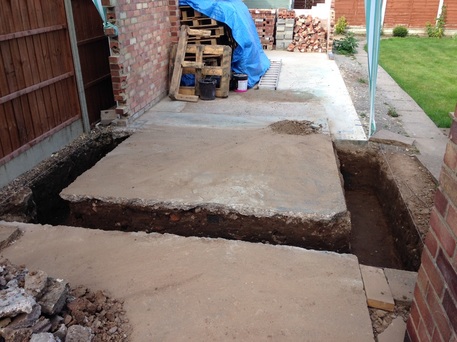
Anyway, I started this latest mini-journey by measuring the proposed foundation locations out and marking with spray paint. One portion of the marked area was easy to expose as it was just paving slabs (on the right below):
In the last post, I showed the building plans in more detail. From this plan, it should be clear that the proposed final layout does not look like the size of a normal garage. Well, that's because it isn't, as we are planning to extend the original garage length an extra couple of metres. For this, we were required by building control to lay foundations for this extension. These were required to be 45 cm wide and 60-70 cm deep all around. Interestingly, despite only being about 4-6 inches thick, no foundations were required for the rest of the floor as this had already had the single storey garage on it for decades and so was deemed to be suitable enough.
Anyway, I started this latest mini-journey by measuring the proposed foundation locations out and marking with spray paint. One portion of the marked area was easy to expose as it was just paving slabs (on the right below):

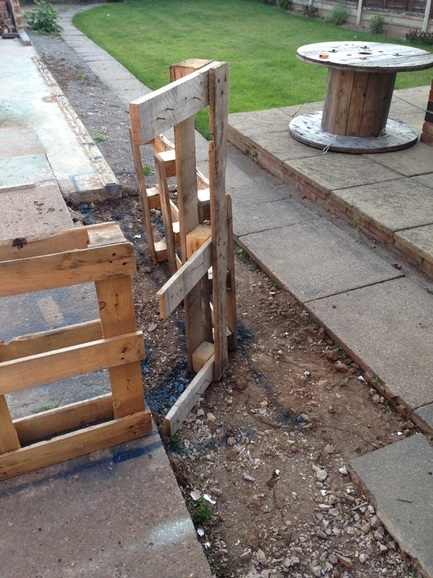
At this point, I took some time to consider the corner of the building that creates the passage into the garden (the bottom right corner in the image above). Making it square seemed to be very harsh and forces anybody entering to rotate their whole body a couple of time to traverse through into the garden. I thought we could afford to lose a bit of this corner to allow the route through to flow better. I mocked up how it might feel with some pallets:

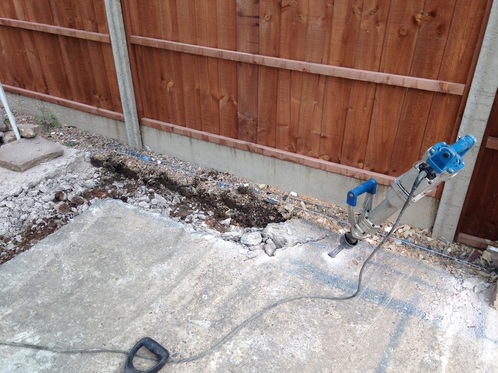
Much better I thought. It was then on to breaking up the existing concrete slab where required. The existing slab was a bit heavy duty, and I needed to enlist the help of a mini jackhammer (thanks to Sean for the lend!). After a slow start (figuring out the right technique), I was soon on the way with breaking up the existing concrete slab to commence digging below:
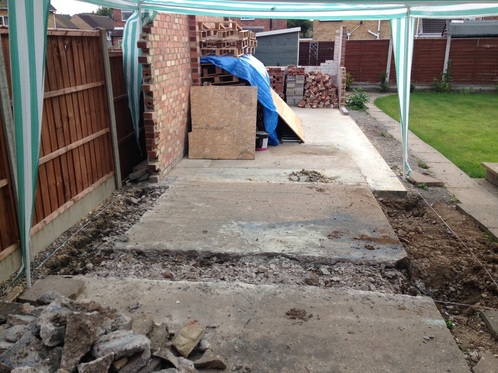
Once the concrete was broken, it was on to digging. In the interests of spending the budget on more exciting things, I decided to dig by hand (well, with a shovel), and about 15 hours later (not all in one shift) a trench was born:
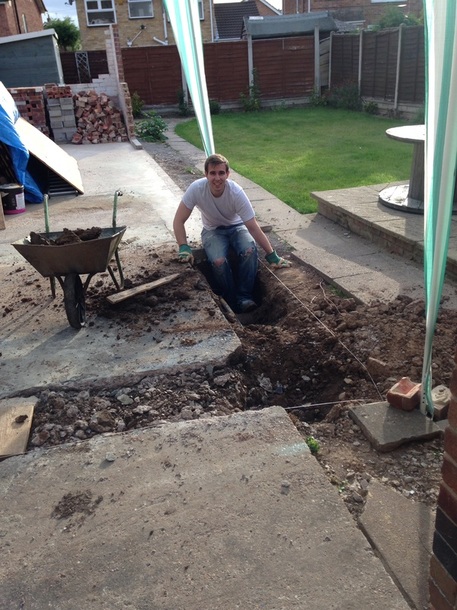
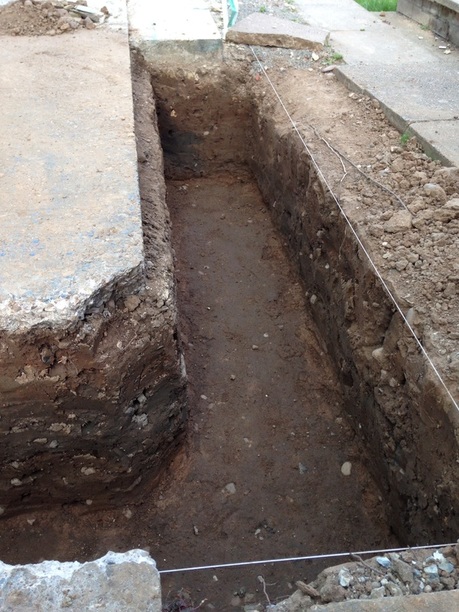
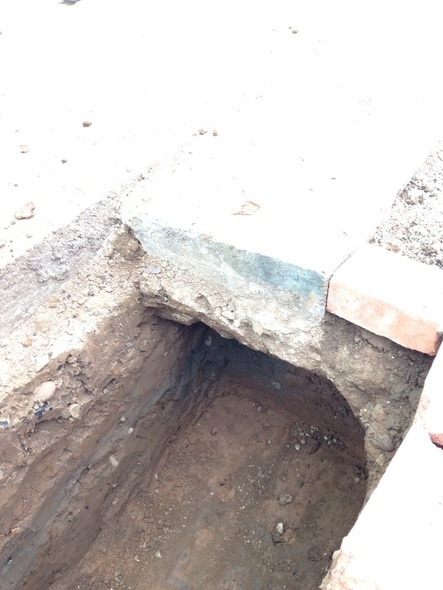
Pretty nice. From here I decided to dig a bit further - underneath the existing slab that would remain in the above image. There had been some sinking of this part of the original slab so I wanted to dig underneath by about a foot so that the new concrete pour would prevent any possible further sinking:
The total volume of earth dug out was about 2 cubic metres. When 2 cubic metres is in the ground it doesn't look all that intimidating to dispose of. However, once it gets dug up, it seems to quadruple in volume. To give you an idea, this is what about half a cubic metre looks like:
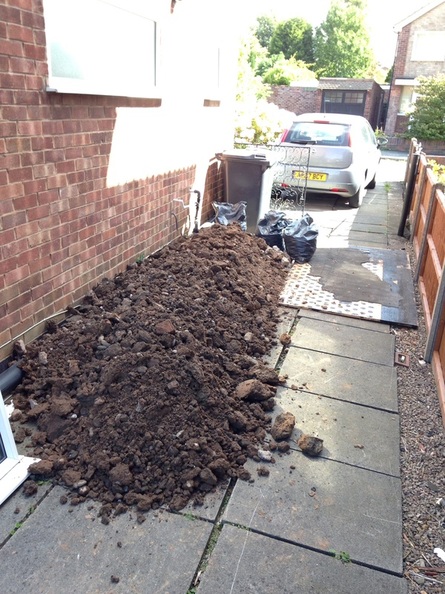
This set the alarm bells ringing, and we were forced to into our biggest expense to date by far: a medium sized skip. It was well worth it and we have now cleared all the earth, and a load of other waste from the site.
The dig had to be inspected by the building control folks, and I was relieved that it passed with flying colours. Next was the concrete pour a few days later. We ordered a mini-mixer lorry to deliver ready-mixed foundation concrete. Unfortunately, the lorry was too big to fit down our driveway, so it was wheelbarrows all the way.
I had some excellent help through this stage. Marta was on hand to oversee the pouring, Marta's brother Lu came along to help wheel the concrete from the lorry and Mark (a top chap) from the concrete company helped too. Everything was poured within about an hour:
And so here is the finished product the following morning:
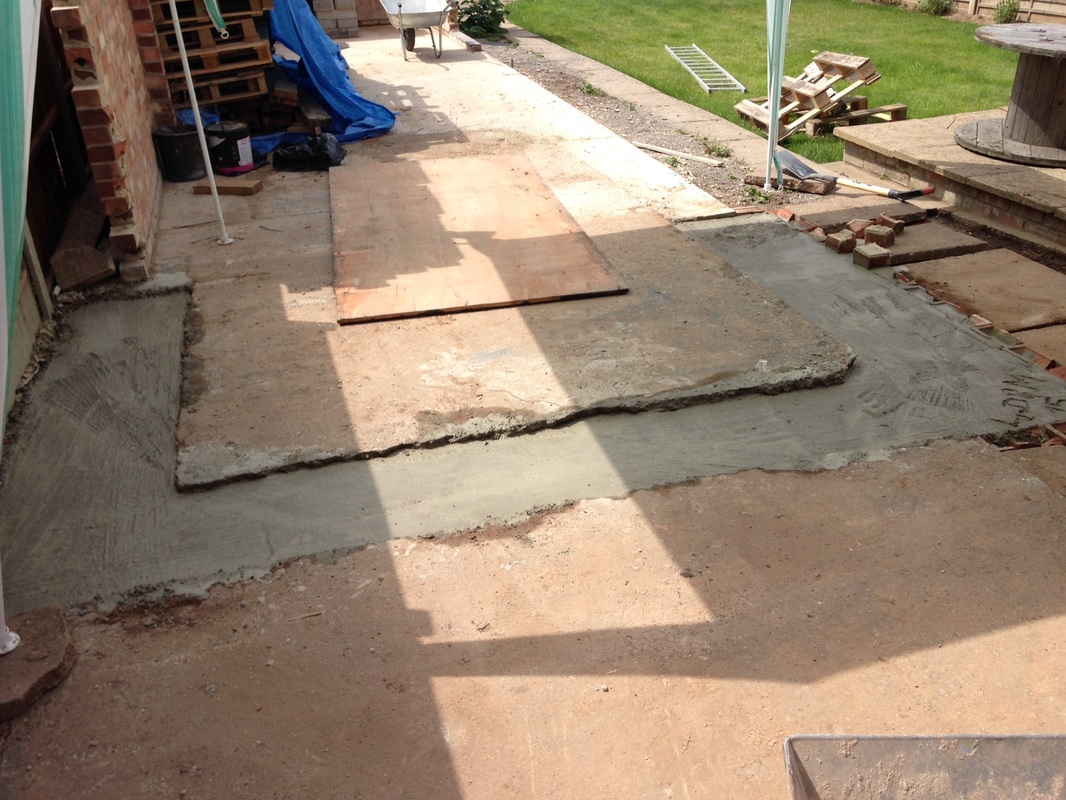
Glorious, and after a couple of weeks of curing this will be ready for building on. Speaking of which, I've been learning how to lay bricks. More about that next time.
And Marta? Well apart from helping with the concrete pour, she has been busy as the baking business is beginning to pick up. Her most recent creation was this awesome Naked wedding cake for her friend's wedding (check out her new website too at www.bombompatisserie.com):
And Marta? Well apart from helping with the concrete pour, she has been busy as the baking business is beginning to pick up. Her most recent creation was this awesome Naked wedding cake for her friend's wedding (check out her new website too at www.bombompatisserie.com):
 |   |

Stay tuned for more soon and use the Subscribe box above on the right if you would like to be sent a notification for future posts.