Yesterday was another day of pulling pallets apart, but this time with a lot more productivity. It took me a couple of hours to figure out the best way to get the wood apart without damaging it last week, but with that sorted, I could really make some progress yesterday.
I mentioned in the last blog that I would take some pictures of the removal method as I had forgotten last time.
First I use another pallet to prop the pallet to be dismantled upside-down (this particular one was rare as it had some plastic wrap on it - no problem):
I mentioned in the last blog that I would take some pictures of the removal method as I had forgotten last time.
First I use another pallet to prop the pallet to be dismantled upside-down (this particular one was rare as it had some plastic wrap on it - no problem):
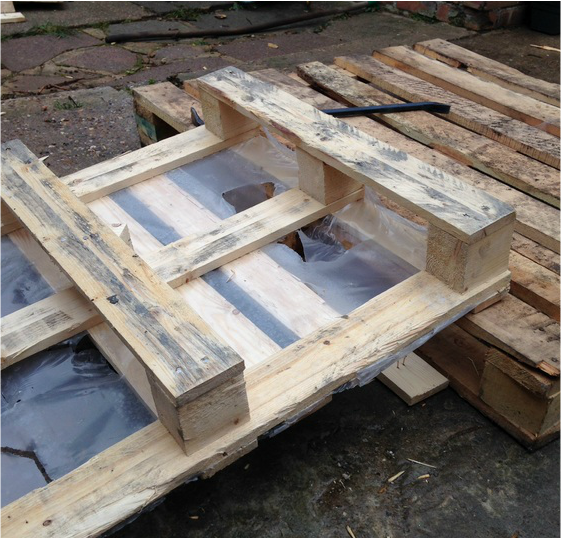
I am aiming here to remove the planks beneath the plastic. So I then put a couple of blocks either side of the central perpendicular plank:
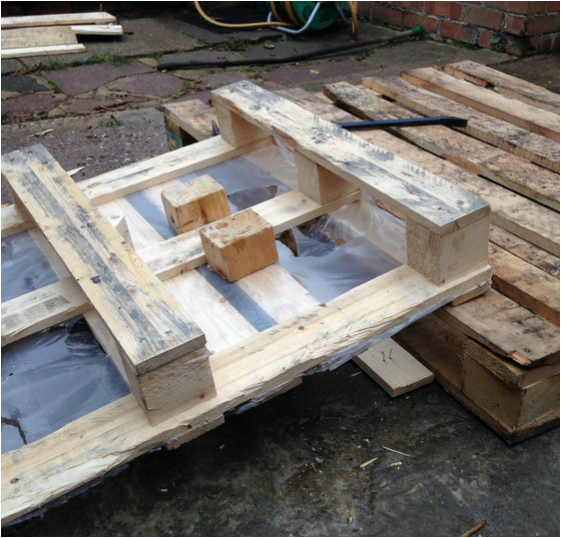
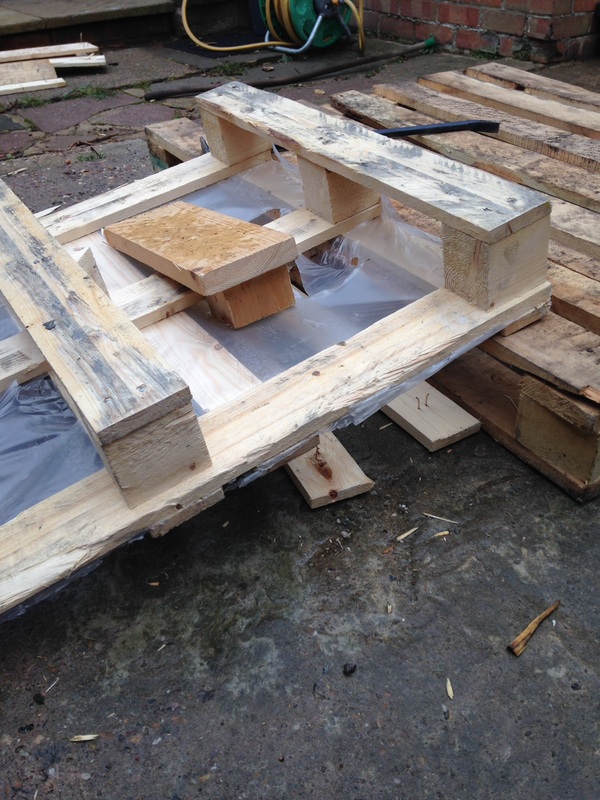
A block either side ensures the downward force to follow is distributed more evenly and does not split the wood by forcing down one side but not the other. The downward force I speak of is my foot, so to ensure I put force into both of these blocks at the same time I put a piece of wood (it has to be a strong piece) to span the blocks:
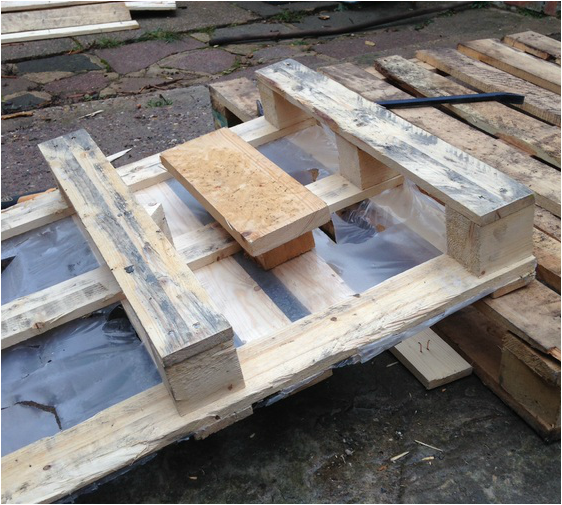
The next stage is to stamp on this quite hard. The action is something like this:
And as you can see, the plank comes free. It's just a case of repeating this for every plank:
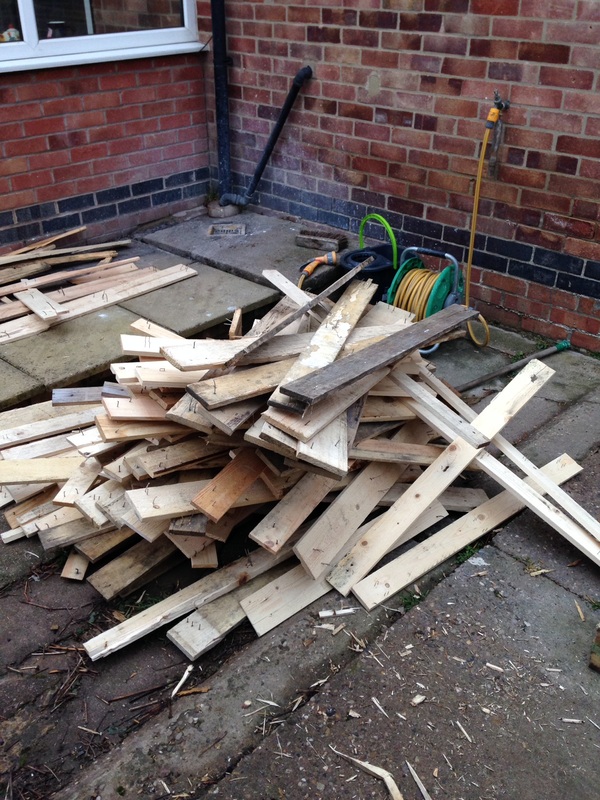
So after doing that several dozens of times, I had generated quite a lot of material for use:
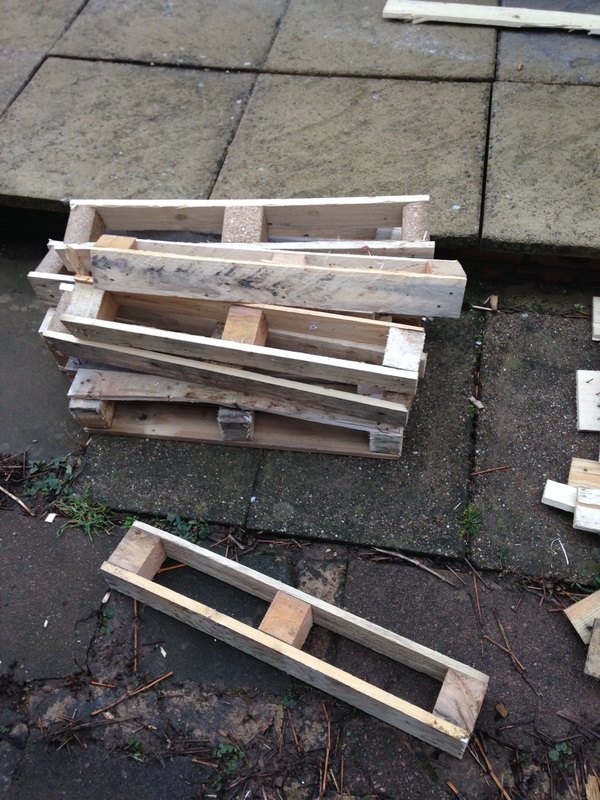
We had also met with our architect during the week and agreed a method to construct the external cavity and cladding using the pallets. The idea is to try to use as much free material as possible, so once I had stripped of the planks as above, many (not all) of the pallets yield supports to which the planks are nailed. These are difficult to take apart in this form, but fortunately, they make ideal joists to provide our external wall cavity (to fill with insulation) and provide something to nail the outer cladding when attached vertically to the existing brick wall:
The other thing I experimented with yesterday was routing. I've only every used a router to connect to the internet before, so this was new to me. My dad lent me his router to have a go. Routers are used to make uniform or even freestyle grooves in wood, and I was hoping to use it to turn the reclaimed planks into tongue and groove planks. This can help with waterproofing so that it is more difficult for rain to creep in between the gaps between the planks. We will be using a water-proof membrane as well, but this would give even greater protection. I'm still thinking about whether this will be worthwhile or not. You can see the set-up I produced yesterday. The idea is that you feed each plank through and the bit from the router rotates very fast and cuts away a groove all the way along the plank. The pictures try to explain it:
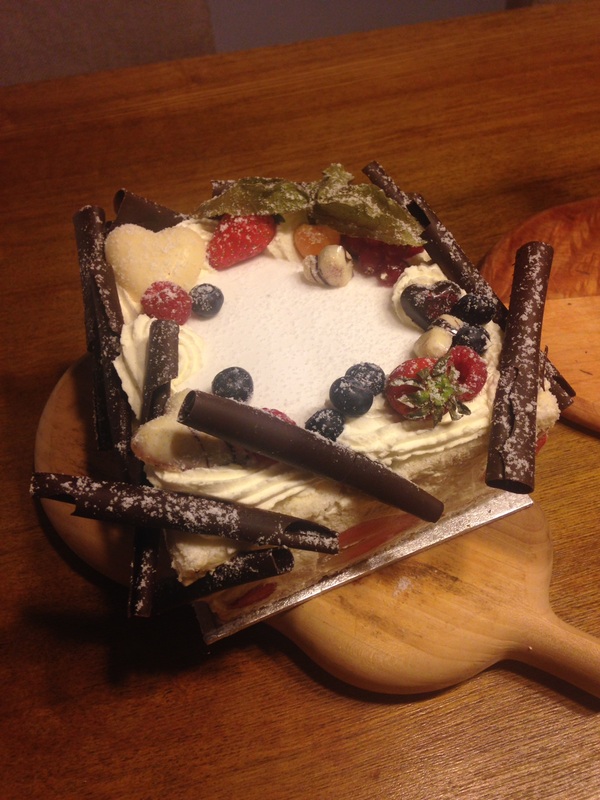
People ask me what Marta does whilst I am doing this sort of stuff. The answer is that usually she is cooking something delicious for us to eat to provide all the energy I need to work! She is also our chief procurer, so is contacting suppliers to try and get the best prices for things such as doors and windows. She got the pallets we are using free of charge. But back to cooking and baking, yesterday's Valentines reward was an amazing Bagatelle, made of course by Marta:
Check again soon for the upcoming week's progress!