I've been waiting to post another blog update, hoping to show the completion of the next key stage - putting the roof on. However, demand for a new post and the fact that it has taken way longer than planned means I thought it would be best to share part of this stage now, and hopefully, the finished job before Christmas.
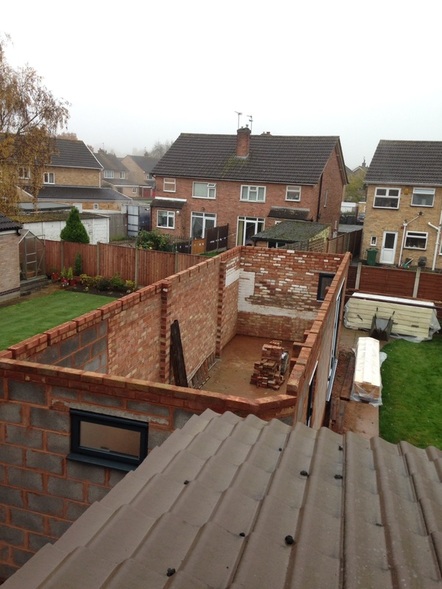
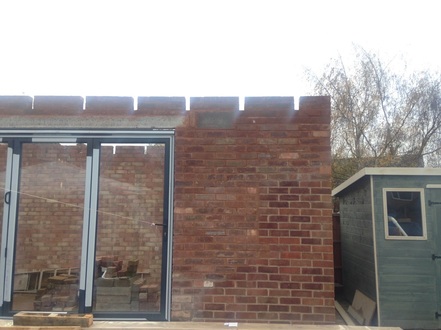
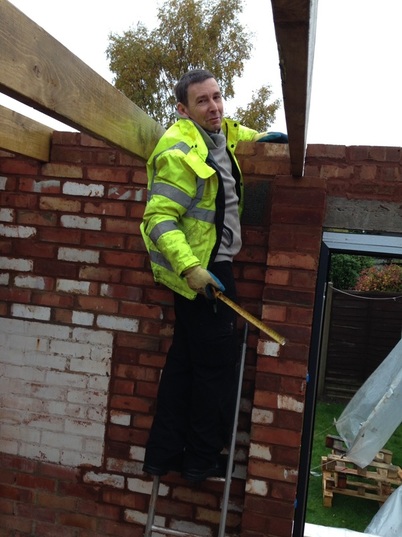
Last time, we left the garage almost ready for a roof with just some final brickwork required to allow location of the roof joists. I finished this one Saturday several weeks back:
Last time, we left the garage almost ready for a roof with just some final brickwork required to allow location of the roof joists. I finished this one Saturday several weeks back:
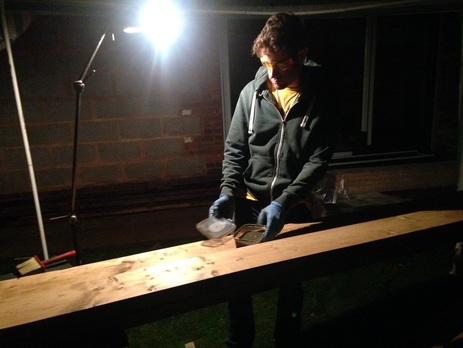
To put the roof on, we needed materials. Whilst I was finishing the brickwork, Marta was phoning around companies getting the best prices on the wood, insulation, rubber and other bits required for the installation. Once we had the bits delivered, I sourced an apprentice (my brother-in-law, Lu) to treat and stain the joists. Lu, was a hero, and worked from lunchtime into the twilight in the cold and rain to get the joists ready - he put up a gazebo and a light to be able to finish:
Because the eventual converted garage will be lived in for long periods, it needs to be well insulated. As heated properties lose the majority of heat through the roof, it is important that the roof is insulated at least as well as the walls. There are certain performance values that must be met so that the building inspector is satisfied by the efficiency of the property.
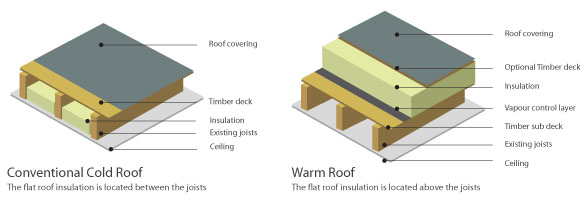
When insulating a roof, there are two main options: a 'warm roof' or a 'cold roof'. The image below illustrates the difference well:
When insulating a roof, there are two main options: a 'warm roof' or a 'cold roof'. The image below illustrates the difference well:
(from http://www.localroofingcompany.co.uk/flat-roof-insulation-products/)
For a cold roof there is an air gap over the insulation that requires ventilation, usually by allowing air to flow from one side to the other. Our garage has 18 joists running across, so it would take 18 pairs of vents running along the entire building to adequately ventilate the roof. This seemed like a lot of work (and could look pretty ugly), so we opted for a warm roof. This adds height to the building (the more insulation you put in, the higher it gets), but this was not an issue for us. We also planned to have exposed joists (i.e. not have the layer labelled 'ceiling' in the figure above) to help make the interior feel a bit more spacious overhead. We would use a rubber membrane over the top to keep it all waterproof with low maintenance.
The plan was to have my dad come one weekend to get it all done. Oh, such naivety.
We got up early one Saturday to make a start and of course it was pouring with rain and was very windy - it didn't improve much for the rest of the weekend.
It was fairly easy to put the joists in place - it was just a case of resting them in the slots. They would be secured later. Here is Dad measuring the joist overhangs to ensure we had them all aligned:
The initial plan was to lay a layer of white-faced board on top of the joists to save the job of having to paint between the joists on the inside:
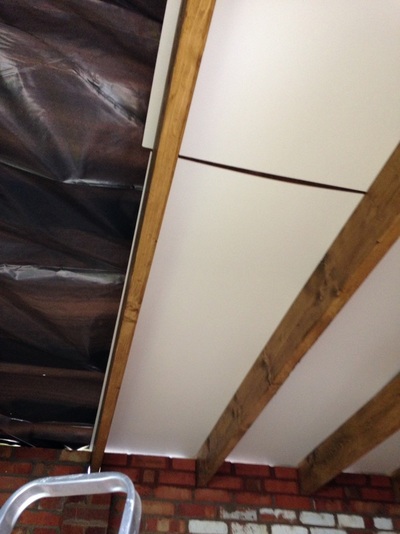
There were a few problems with this. Firstly, the board was too thin and wavy, so when placed on the joists didn't butt up neatly with each other, creating gaps as seen in the image above. Secondly, some of the joist spacings I created were a bit irregular as I was trying to space them such that every pier (a double brick vertical pillar created in the brickwork to provide stability to the wall) had a joist placed on top. This meant that any boards laid on top of the joists needed trimming (again, see above). This was a job I wanted to avoid. Finally, we found that this approach was not suitable from a fire safety point of view. An interior roof needs protection so that flames cannot spread across it. This is usually achieved by attaching plasterboard on the inside, but as we wanted exposed joists, either the joists needed to be treated to make them flame proof (the paint to do this is quite expensive), or we could put plasterboard in between the joists. I decided to take the latter approach and accept the fate of painting the ceiling between the joists. The thin white board was therefore later removed.
Most of the rest of the day was spent battling the wind to lay the vapour barrier layer (a plastic membrane designed to stop water vapour we all breathe entering the roof space). There was also lots of my dad crawling around in hilarious fashion to ensure he wouldn't fall between the joists:
Most of the rest of the day was spent battling the wind to lay the vapour barrier layer (a plastic membrane designed to stop water vapour we all breathe entering the roof space). There was also lots of my dad crawling around in hilarious fashion to ensure he wouldn't fall between the joists:
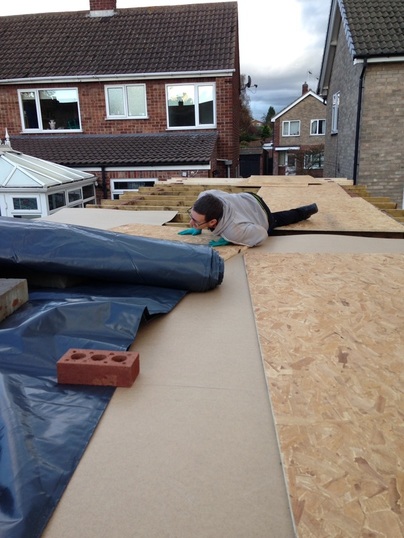
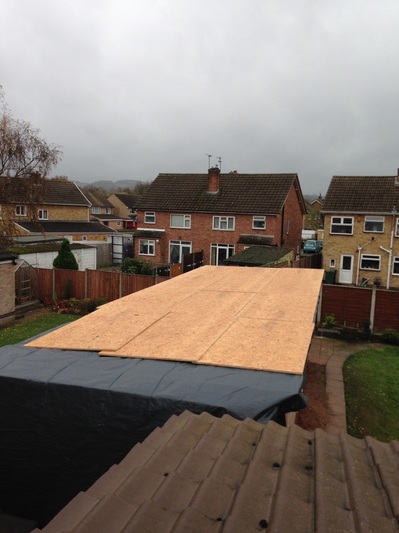
Eventually, we got the membrane under control by weighing it down with the structural board. By the end of the weekend we got as far as getting most of the board on top of the roof:
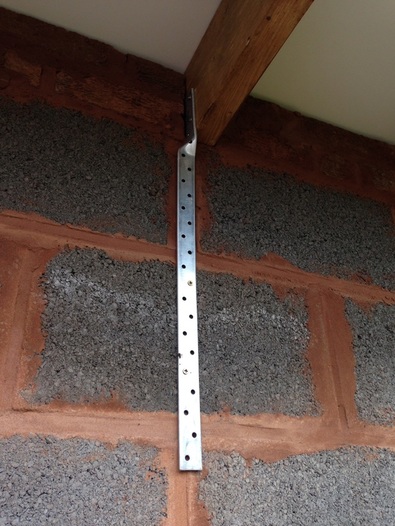
The other thing that we managed over that weekend was to secure the joists to the rest of the building. This was achieved using twisted metal straps screwed into the walls at one end and the joists at the other:
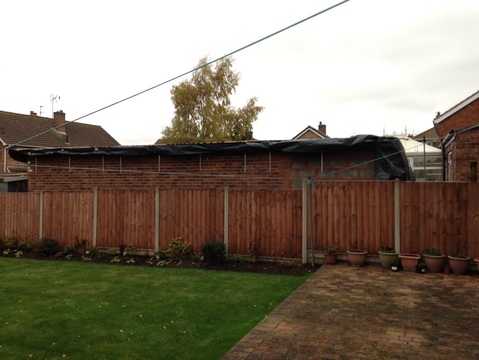
These were secured to many of the joists on both sides of the building. The image below is the lesser seen view from our next door neighbours garden:
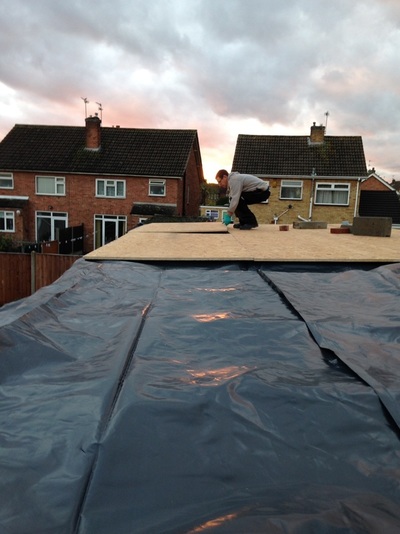
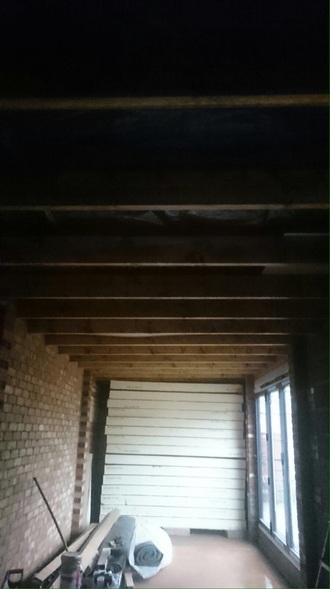
Whilst the plan was to finish the whole job over the weekend, we were pleased with any sort of progress considering the rain and wind. The joists were secure and importantly, the inside of the garage was sheltered from the water meaning we could now store things inside. Here was the view of the interior with our roof insulation stacked inside:
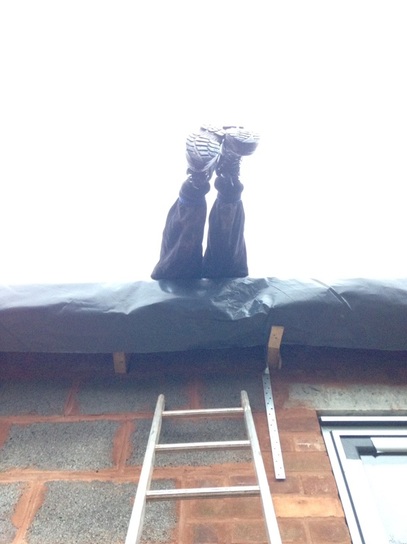
My dad had done a sterling job helping out - he was rewarded with numerous cups of tea and one more humorous photo of him trying to get his feet onto the ladder after finishing on the roof (I think he was hoping I would help before taking a photo):
So, all was ready for another big push later in the following week. The weather forecast predicted no rain until Friday. This would allow everything to dry out after the wet weekend. But of course if we had waited until the following weekend, it would all be wet again. Thursday was the day then - I would take the day off from work and Marta would be helping all day. The aim: secure the boards down, insulate and get the rubber waterproof layer on top. How did we fare? Find out next time...