The next stage in our garage renovation was to welcome my cousin Brad to Loughborough to accept his very generous offer of fitting the doors and windows he has helped us to buy at a bargain price.
By now, I had prepared the masonry to at least accept the door and window fixtures, although I'm still working on the final brickwork in preparation for the new roof.
Brad is a glazing fitter by trade and made everything look pretty simple, although the hot weather on the day gave him a good workout. He started on the bathroom window closest to the house (I took this photo out of the window from our upstairs landing):
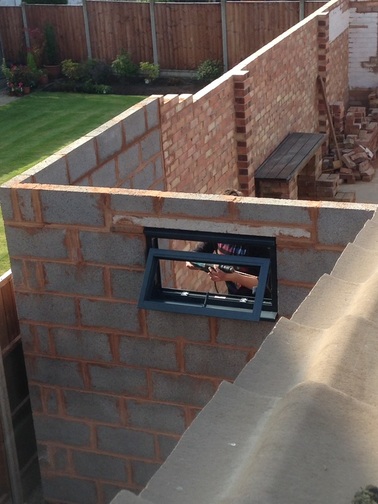
There was some discussion about how the window sills (cills?) would be compatible with the exterior cladding that will be added later. We are insulating on the outside of the wall to maximise space inside. This will be done with bits and pieces of packing pallets (you can see the wood I've already prepared for this in earlier blog posts - see February to May 2015). The insulation and cladding on the outside adds about 12 centimetres, but the window sill only stretches out about eight centimetres, so I will have to create a slope out from under the sill to ensure rainwater doesn't get caught anywhere.
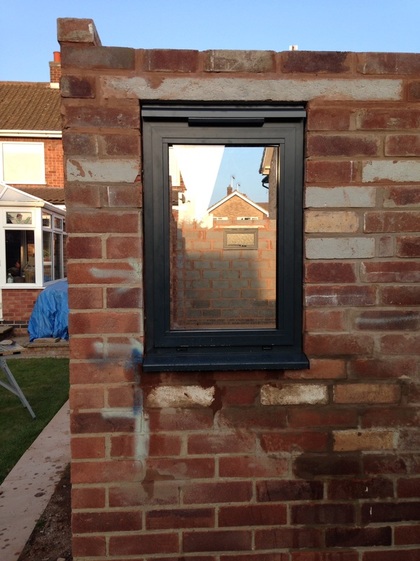
In no time, Brad had fitted this window and was onto the single door into the bedroom. He commented on the excellence of the brickwork: "Better than most sites I visit". My chest swelled.
In no time, Brad had fitted this window and was onto the single door into the bedroom. He commented on the excellence of the brickwork: "Better than most sites I visit". My chest swelled.
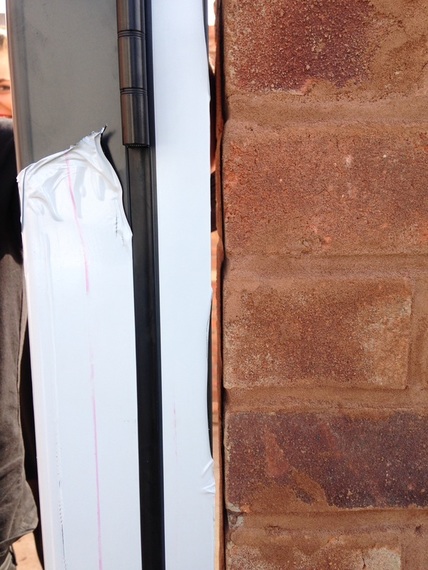
You can see the fit above. The gap around the outside of the frame is typically filled with silicone or expanding foam for a better insulated finish. Notice the white stickers in the image above which are currently protecting the paintwork in most areas. The final finish is the dark grey shade towards the top of the image.
Below is the master at work, fitting the bi-folding doors. Again, to my relief, all the openings for each fitting appeared to be spot on. If you are a regular reader, you might remember my concern with the bi-fold opening as this had a tight tolerance on the perpendicularity (right-angledness). You can see in the image below the intention for the doors to open so they finish inside the building. Finishing on the outside would mean the walkway would be blocked. It is also possible to only open the right-most door so it can be treated as a single door as required. So far so good.
Below is the master at work, fitting the bi-folding doors. Again, to my relief, all the openings for each fitting appeared to be spot on. If you are a regular reader, you might remember my concern with the bi-fold opening as this had a tight tolerance on the perpendicularity (right-angledness). You can see in the image below the intention for the doors to open so they finish inside the building. Finishing on the outside would mean the walkway would be blocked. It is also possible to only open the right-most door so it can be treated as a single door as required. So far so good.
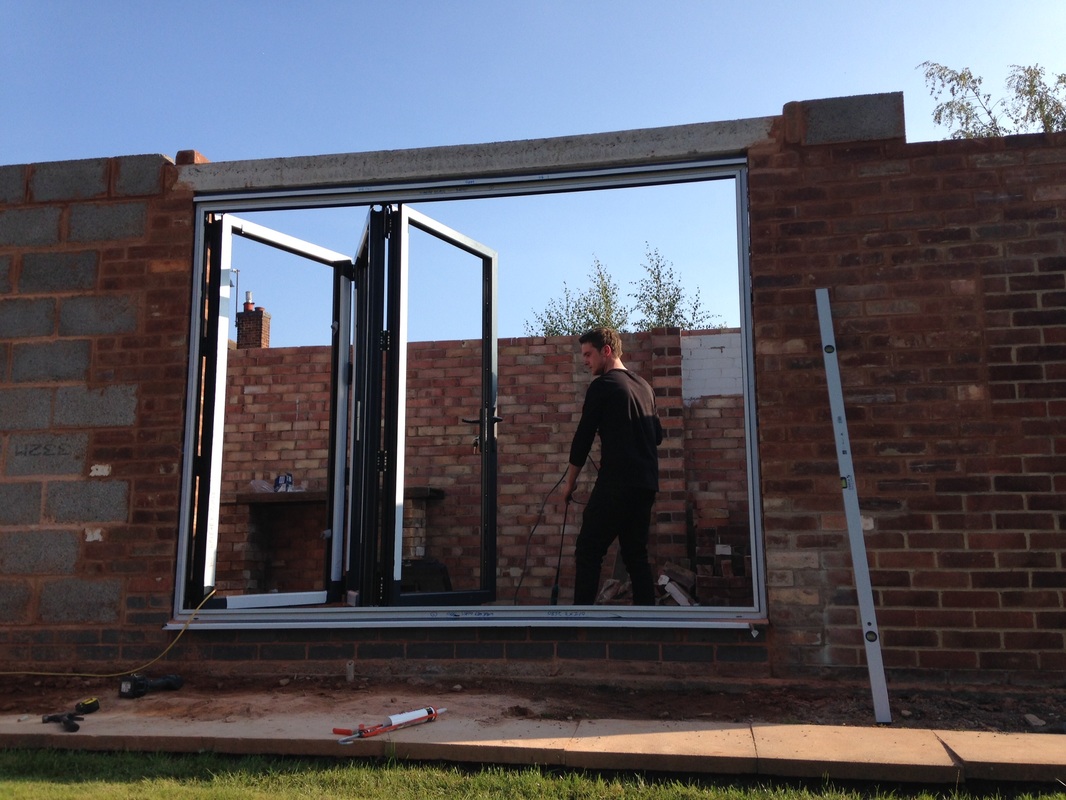
And it remained good as the glass was installed. I was particularly jealous of the super long spirit level Brad was using (see above to the right). It's fair to say that different things in life capture my attention these days compared to 10 years ago....even 1 year ago. Bi-fold fitted:

Below you can see through the kitchen window from the outside - the bathroom window can be seen through the window at the back of the building:
And so as the sun began to set, Brad's work was done. Mighty fine work it was too:
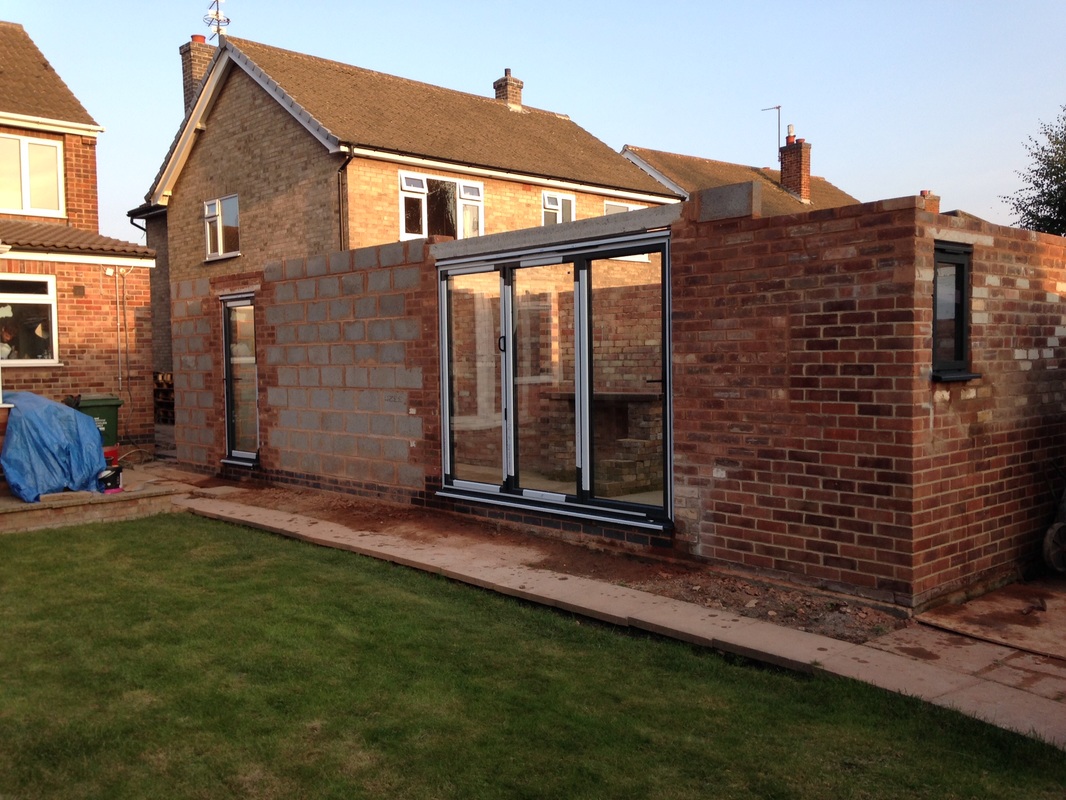
In the image above, you can see parts of the brickwork unfinished (to the top right of the bi-fold door). In the following days and weeks I have been working to complete this to bring it up to the final level for the roof. In fact the top of the grey block to the top right of the bi-fold represents the level for the roof joists to rest. Then brickwork will be required in between the joists. Sounds simple when I say it like that. Let's see...